Its the holiday season!!
It all starts with pumpkins on our porch, corn mazes, and miniature Elsa’s and Batman’s running around with pillowcases of candy. Then we go into a harvest frenzy and prepare beautiful tables of food for our loved ones to gather and be grateful. And then we finish saving the best for last. Hanging up magical lights, singing carols, and joining together as a world to celebrate the greatest gift on earth! The birth of our Savior.
This year I wanted to bring the joy of Christmas into our home with the help of some DIY decor! And I knew this would be a fun project to kick things off (and use all the extra burlap from a previous project. WIN!)
WHAT YOU NEED:
Highlighter/or Fabric Pen
Scissors
Cardboard Paper
Ruler
[Walmart http://www.walmart.com/ip/Simply-Acrylic-750ml-Paint-Brilliant-Red/21982811?action=product_interest&action_type=title&placement_id=irs_top&strategy=PWVUB&visitor_id=Lfwk5Q10pP_6BiLjHEgrso&category=&client_guid=5a32ccf8-ce8c-44b1-8043-db3d2ac6b264&customer_id_enc=&config_id=2&parent_item_id=21982813&guid=97e33f94-188d-4e7e-a36a-fdd1abe62df4&bucket_id=irsbucketdefault&beacon_version=1.0.0&findingMethod=p13n Acrylic Paint] -1 bottle of each color you want
Sponge Brush
String
Bobby Pin
Anti-Fray Glue/or clear nail polish
To make your own stencils:
Computer/Printer
Cutting board
Let’s get started!
Step One: Trace your flags.
Use a sheet of cardboard paper and cut a flag from the paper that you will trace onto your burlap. Keeping in mind the width of your stencils!
Take a highlighter or fabric pen, and lightly trace flags onto your burlap. Be sure to use your space well and not let that burlap go to waste 🙂
Step Two: Prepare your stencils.
We made our own stencils. Very, very easy in fact. All you do is print your letters (keeping in mind the width of your flags) onto sturdy cardboard paper and use an X-ACTO knife to get the letters cut perfectly. And Voila! Homemade stencils.
Choose where you want to place your letter.
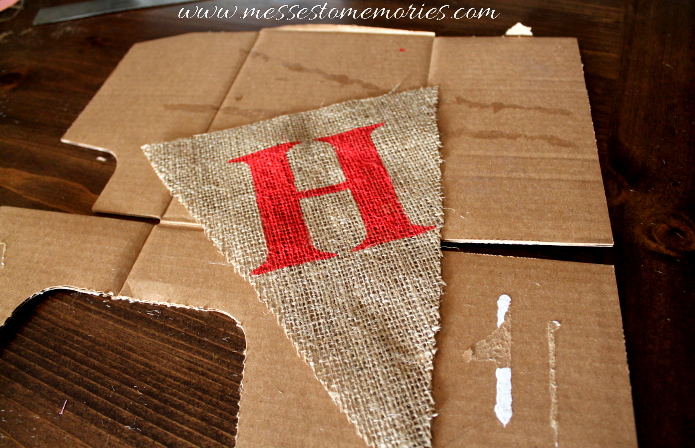
Using a ruler to measure how far from the top of the letter to the top of the flag it is, and when you move onto your next letter, keep that same distance between your letter and the top of the flag for all of your flags. It creates a unison look!
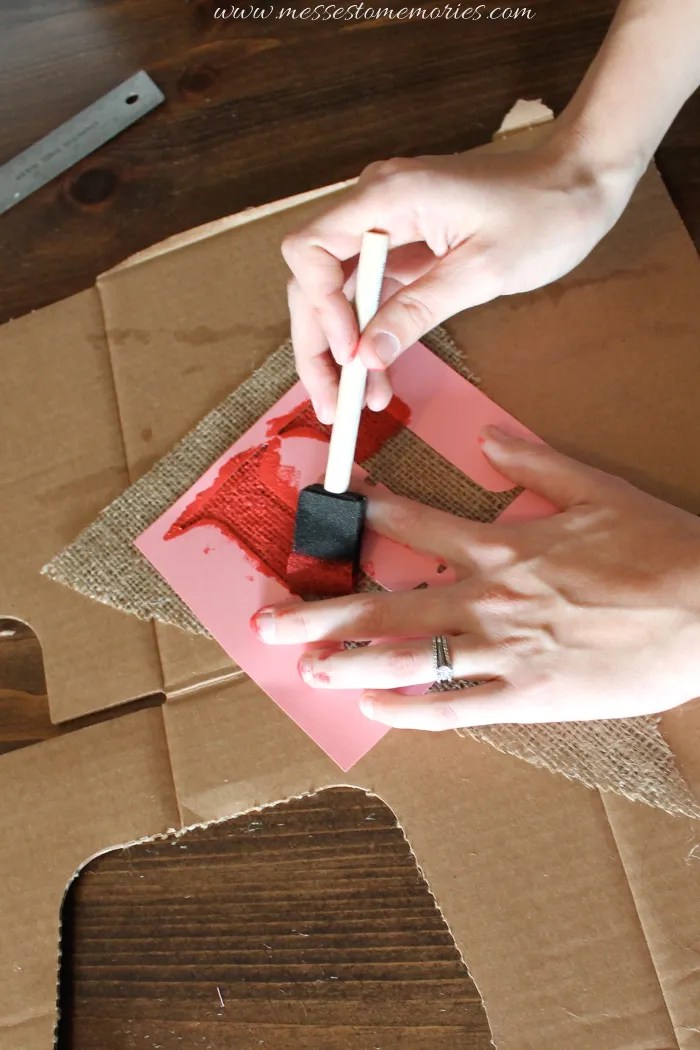
Step Three: Paint the letters!
Take the sponge brush and dab your paint onto the burlap.
Avoid using brush strokes for burlap! Instead just dab dab dab. Burlap isn’t meant to be brushed, it messes with the fibers.
Step Four: Prevent fraying!
Burlap frays and it can be realllllly annoying! There is a solution though! Use some anti-fraying glue (you can find it at any craft store) and POOF! The problem is solved.
For anyone looking for a shortcut….I just used clear nail polish to avoid going to the store again with a 1 year old. *gasp
Same effect right? Haha. But I would probably recommend just using the glue.
Step Five: String the banner!
For a threaded look, take a bobby pin and use it as you would a needle. Thread the string in and out of the burlap.
FA-LA-LA-LA-LA , LA-LA-YOUR DONE! (cheesy?)
For those of you wondering, we even made a snowflake stencil. Hard pull off, but so worth it I think!! You should have seen my husband hold down the little pieces with chopsticks while I was painting. So intense. Can you say open heart surgery!?
Love this time of year!
I love having Christmas light up our homes and our hearts. May you have fun filling your homes with the Christmas spirit too!!


